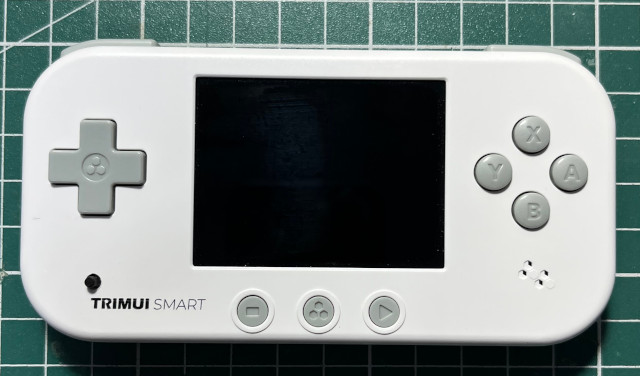
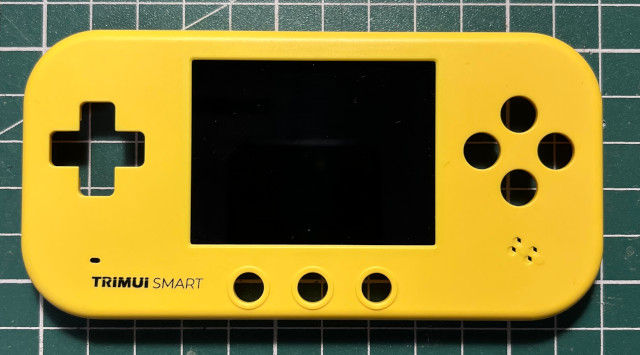
TRIMUI SMART
GPIO按鍵改造
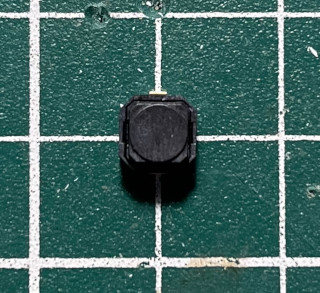
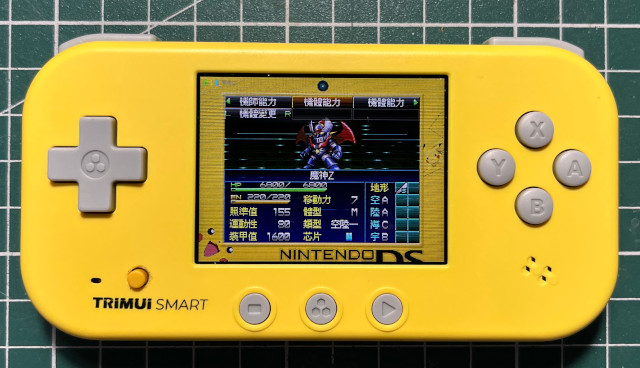
TRIMUI SMART掌機的按鍵太少,導致司徒在玩NDS模擬器時,缺少一個可以換屏的按鍵,相當不方便,於是激起司徒改造的動力,使用的按鍵如下圖
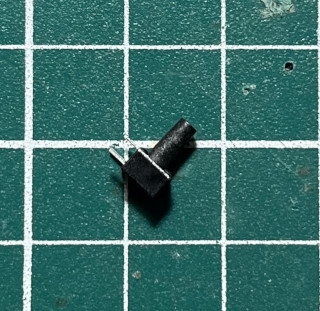
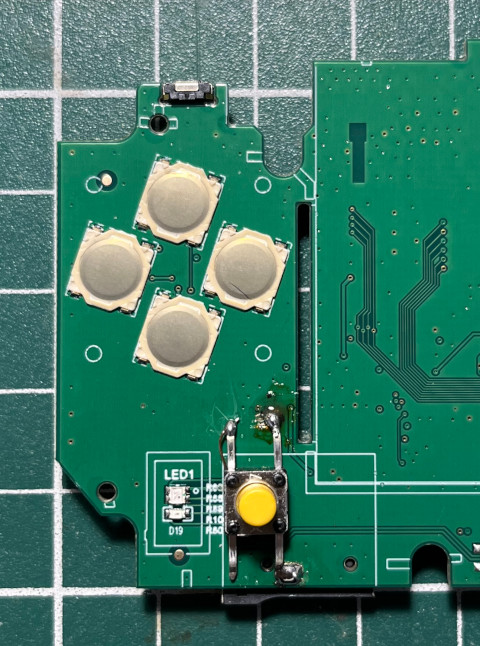
拿掉無用的LED,這個按鍵剛剛好可以塞下
相當不錯
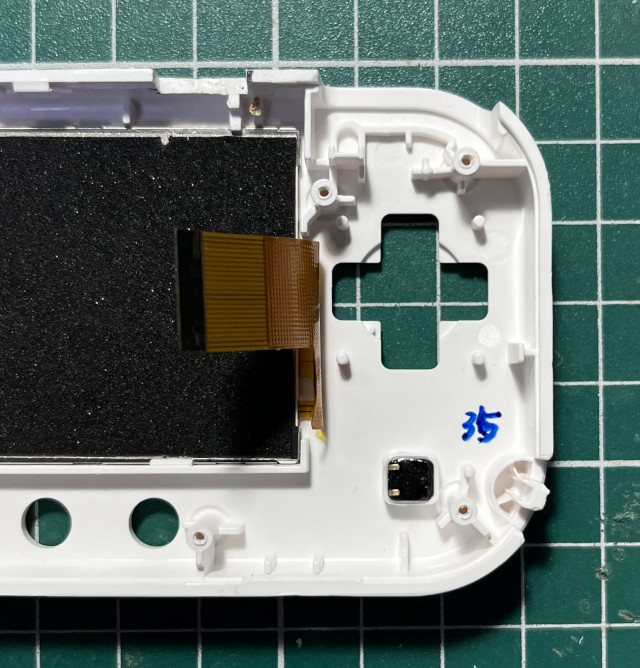
使用PG11當作按鍵輸入

P.S. PG11請接在電阻的右側,這張圖標到左側
跳線完成
完美
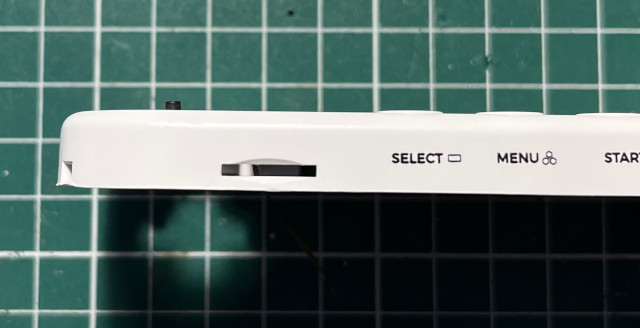
按鈕太小果然手指很痛,於是司徒找到如下按鈕
挖洞塞下

AB膠

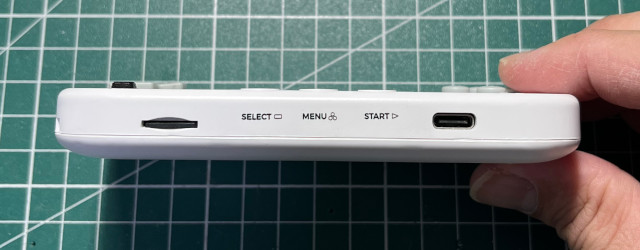
這個按鈕就真的很完美

司徒後來買齊了四個顏色,而最期待的機器就是小黃機,因此,首先改造的對象就是小黃

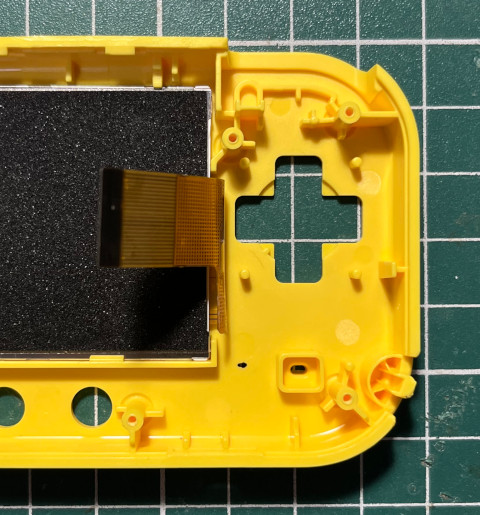
標記鑽孔的中心點
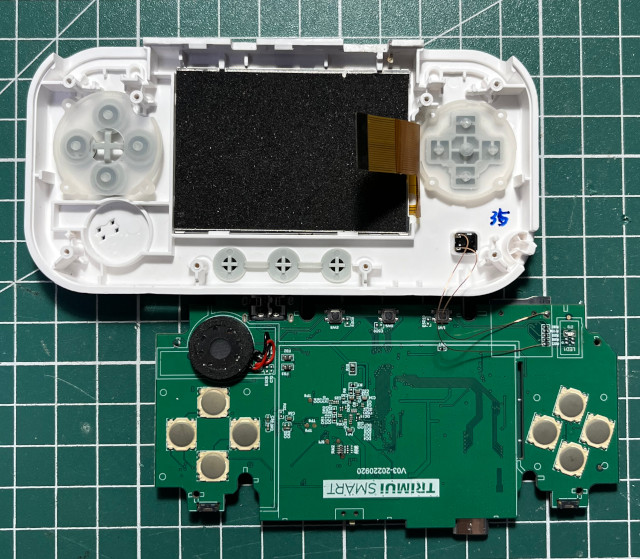
超讚的OMRON B3F-1062 6*6*7m

取下電阻後,直接焊上就可以
這個高度真是相當剛好
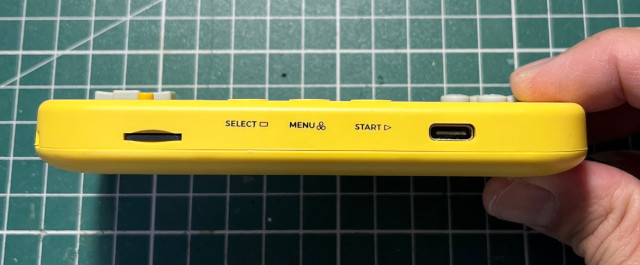
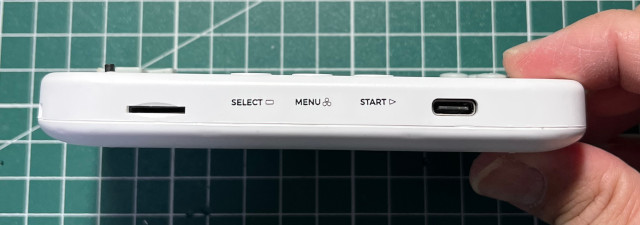
NDS模擬器的專屬切屏開關

main.c
#include <stdio.h>
#include <stdlib.h>
#include <stdint.h>
#include <string.h>
#include <fcntl.h>
#include <sys/mman.h>
#include <unistd.h>
#include <time.h>

int main(int argc, char* argv[])
{
    int fd = open("/dev/mem", O_RDWR);
    uint32_t *cfg = NULL;
    uint32_t *dat = NULL;
    uint32_t *pul = NULL;
    uint8_t *mem = mmap(0, 4096, PROT_READ | PROT_WRITE, MAP_SHARED, fd, 0x01c20000);

    printf("mem 0x%x\n", mem);
    cfg = (uint32_t *)(mem + 0x800 + (0x24 * 6) + 0x04);
    dat = (uint32_t *)(mem + 0x800 + (0x24 * 6) + 0x10);
    pul = (uint32_t *)(mem + 0x800 + (0x24 * 6) + 0x1c);

    printf("cfg 0x%x\n", *cfg);
    *cfg &= 0xffff0fff;
    *pul |= 0x00400000;

    while (1) {
        usleep(1000000);
        printf("dat 0x%x\n", *dat);
    }

    munmap(mem, 4096);
    close(fd);
    return 0;
}